How to paint your kitchen cabinets like a pro is one of the most useful skills homeowners can learn when updating an outdated kitchen without investing in a complete renovation. Cabinet painting can dramatically change the appearance of a room, brighten dark surfaces, and create a more contemporary atmosphere while preserving existing cabinetry that remains structurally sound.
However, professional-looking results require more than applying a fresh coat of paint. Kitchen cabinets experience constant handling, moisture, cooking grease, and repeated cleaning. Without proper preparation, even expensive paint can peel, chip, or develop an uneven appearance.
The difference between a disappointing DIY project and a successful cabinet transformation often comes down to surface preparation, primer selection, application techniques, and adequate drying and curing time. Every stage contributes to the durability and appearance of the finished cabinetry.
At Cabinets House, homeowners are encouraged to evaluate the condition of their cabinets before deciding between painting and replacement. If the existing cabinets are structurally sound and the layout works well, refinishing may provide an economical update. This guide explains how to paint kitchen cabinets properly and achieve a smooth, attractive, long-lasting finish.
1. Determine Whether Your Kitchen Cabinets Can Be Painted
Before purchasing paint or removing cabinet doors, evaluate the condition and construction of the existing cabinetry. Not every cabinet surface is equally suitable for refinishing, and some materials require specialized preparation.
Solid wood cabinets are often good candidates for painting because their surfaces can generally be cleaned, sanded, primed, and refinished. Previously painted wood cabinets may also be suitable if the existing coating remains well bonded.
MDF cabinet doors can often be painted successfully, provided the material is dry, undamaged, and properly sealed. Laminate and thermofoil surfaces require additional caution because paint adhesion depends on the existing finish and substrate.
Cabinets with significant water damage, swollen panels, peeling surface layers, or deteriorating construction may not justify the cost and effort of painting. In these situations, replacement may provide better long-term value.
Homeowners should inspect doors, drawers, shelves, cabinet boxes, and hardware before beginning. A fresh finish can improve appearance, but it cannot correct structural weaknesses or a poorly functioning kitchen layout.
2. Gather the Right Cabinet Painting Supplies
Professional results begin with appropriate tools and materials. Using ordinary wall paint and inexpensive brushes may produce a finish that looks acceptable initially but performs poorly under regular kitchen use.
Choose a coating specifically suitable for cabinets, trim, or other frequently handled interior woodwork. Waterborne acrylic or urethane-modified enamel products are commonly considered for cabinet refinishing, depending on the substrate and manufacturer’s instructions.
A practical cabinet painting checklist includes:
-
Cabinet-compatible paint
-
Suitable bonding or stain-blocking primer
-
Degreasing cleaner
-
Fine-grit sandpaper
-
Sanding blocks or an orbital sander
-
High-quality synthetic brushes
-
Fine-finish rollers
-
Painter’s tape
-
Drop cloths
-
Wood filler where appropriate
-
Tack cloths or lint-free cleaning cloths
-
Screwdrivers and labeled storage bags
-
Appropriate personal protective equipment
Spray equipment can create a smooth finish, but it requires suitable ventilation, masking, equipment setup, and experience. Homeowners should follow all product safety instructions, especially when working with coatings that generate airborne particles or vapors.
3. Remove Cabinet Doors, Drawers, and Hardware
Removing cabinet doors and drawer fronts allows more consistent painting and reduces the likelihood of visible drips around hinges, handles, and decorative details.
Before removing components, label each door and drawer according to its original location. Kitchen cabinets may appear identical, but small variations in alignment and dimensions can make reinstallation more difficult if components are mixed up.
Store screws, hinges, and handles in labeled bags. If hardware will be reused, inspect it for damage and clean it before reinstalling.
Drawer fronts should be removed only according to the cabinet’s construction and manufacturer guidance. Some assemblies require special handling to avoid damaging the drawer box or fastening system.
Set up a clean, protected workspace where doors can be positioned securely for preparation, painting, and drying. Adequate room and controlled conditions make the entire process more manageable.
4. Clean and Degrease Every Cabinet Surface
Cleaning is one of the most important stages of kitchen cabinet painting. Cooking grease, fingerprints, food residue, cleaning products, and airborne oils can prevent primer and paint from bonding correctly.
Use a cleaner compatible with the existing finish and the coating system you intend to apply. Areas near the stove, range hood, sink, and frequently used handles may require additional attention.
After cleaning, remove any residue according to the cleaner manufacturer’s instructions and allow the surfaces to dry completely. Applying primer over remaining detergent or moisture can compromise adhesion.
Do not assume that cabinets are clean simply because they look clean. Invisible grease contamination can cause paint defects and premature peeling.
Proper degreasing is especially important when refinishing older cabinetry that has been exposed to years of cooking activity.
5. Sand the Cabinets for Better Paint Adhesion
Sanding helps prepare the existing surface for primer and paint. The objective is generally to create a consistent, appropriately prepared surface rather than remove every trace of the original finish.
For many sound, previously finished cabinet surfaces, light sanding with a suitable fine-grit abrasive can improve mechanical adhesion. The exact abrasive and preparation method should follow the primer manufacturer’s recommendations.
Glossy finishes may require more thorough preparation. Decorative profiles, corners, and recessed panels should be sanded carefully to avoid damaging their shape.
After sanding, remove all dust using a vacuum and suitable lint-free cloth. Residual sanding dust can become trapped in the coating and create a rough appearance.
If cabinets have old, unknown coatings, consider the possibility of lead-based paint, particularly in homes built before 1978. In the United States, renovation work that disturbs potentially lead-containing paint may require lead-safe procedures. Testing and appropriate professional assistance should be considered before sanding.
6. Repair Small Imperfections Before Priming
Cabinet painting provides an opportunity to correct minor surface defects that would otherwise remain visible beneath the new finish.
Small dents, scratches, and unwanted hardware holes can sometimes be repaired with a filler compatible with the cabinet material and coating system.
Apply filler according to the manufacturer’s instructions and allow it to dry or cure completely. Sand repaired areas until they are level with the surrounding surface.
Not every defect should be filled. Natural wood grain, panel joints, and construction details may move with seasonal changes. Filling areas that are intended to accommodate movement can cause cracking later.
Inspect repaired surfaces under angled lighting. This helps reveal imperfections that may become more noticeable after a smooth painted finish is applied.
7. Apply the Correct Primer
Primer is essential for many cabinet painting projects because it promotes adhesion, helps create a uniform surface, and may prevent discoloration from affecting the final paint.
The appropriate primer depends on the cabinet material and existing finish. Bare wood, previously painted cabinetry, MDF, and certain laminate surfaces may require different products.
Some woods contain tannins or other substances that can discolor light paint. A suitable stain-blocking primer may be necessary to reduce this problem.
Apply primer in thin, even coats using the tools recommended by the manufacturer. Avoid heavy application, particularly around cabinet profiles and recessed areas.
Allow the primer to dry for the specified period before sanding or applying paint. Drying requirements vary with product formulation, temperature, humidity, and ventilation.
8. Choose the Best Paint Finish for Kitchen Cabinets
Paint sheen affects both appearance and maintenance. Cabinet finishes should be selected according to durability requirements, desired aesthetics, and manufacturer recommendations.
| Paint Finish |
Appearance |
Practical Consideration |
| Matte |
Soft, low reflection |
May reveal handling marks depending on product |
| Satin |
Subtle sheen |
Popular balance of appearance and cleanability |
| Semi-Gloss |
More reflective |
Can highlight surface imperfections |
| Gloss |
High reflection |
Requires especially careful preparation |
Sheen alone does not determine durability. A high-quality cabinet enamel with an appropriate satin finish may perform better than a general-purpose glossy wall paint.
Color selection also matters. White and warm neutral cabinets can brighten a kitchen, while navy, green, charcoal, and darker wood-inspired colors can create stronger contrast.
Test the selected color on a sample surface before painting the entire kitchen. Lighting, flooring, countertops, and backsplash materials can significantly influence the final appearance.
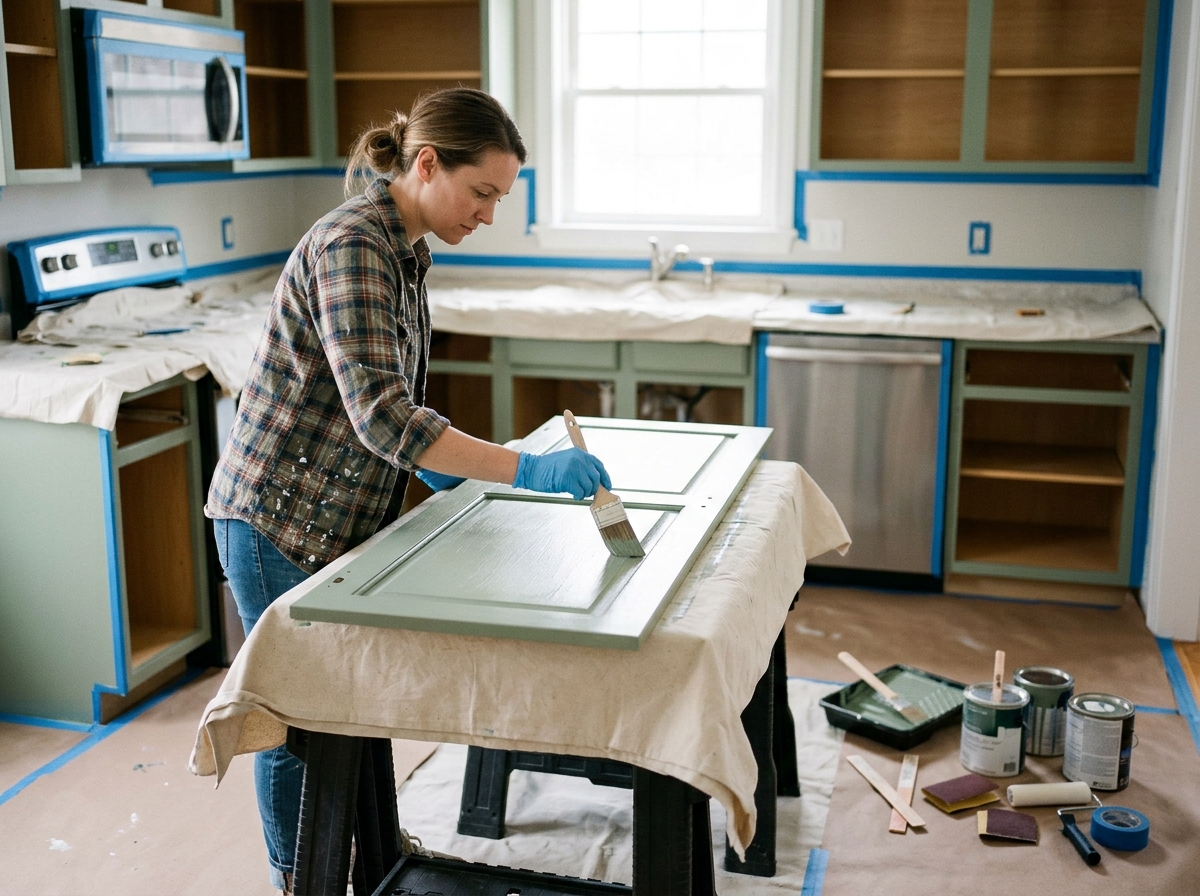
9. Apply Thin, Even Coats of Cabinet Paint
One of the most common DIY mistakes is applying too much paint at once. Heavy coats can create runs, visible brush marks, uneven drying, and poor surface quality.
Instead, apply thin, controlled coats. Work systematically across each door, maintaining a consistent application technique.
For shaker cabinet doors, pay particular attention to recessed corners where paint can accumulate. Remove excess material before it begins to dry.
High-quality fine-finish rollers can help produce an even surface on flat cabinet sections. Brushes may be more suitable for detailed areas and edges.
Allow each coat to dry and become ready for recoating according to the manufacturer’s instructions. Light sanding between coats may improve smoothness when recommended by the coating manufacturer.
10. Allow Enough Drying and Curing Time
Paint drying and paint curing are not the same process. A surface may feel dry to the touch long before the coating has developed its intended hardness and resistance to handling.
Reinstalling cabinet doors too early can result in sticking, surface impressions, scratches, or damage around hinges and hardware.
Curing periods vary significantly by product. Some cabinet coatings may require several days or longer before they achieve their expected performance characteristics.
During this period, avoid aggressive cleaning, heavy impacts, and unnecessary contact with freshly painted surfaces.
Homeowners should follow the specific paint manufacturer’s guidance rather than relying on a universal curing schedule.
11. Reinstall Doors and Adjust the Hardware
Once the coating is sufficiently ready for handling and reassembly, reinstall cabinet doors, drawer fronts, hinges, and handles.
Use the labels created during disassembly to return components to their original locations. This can reduce alignment problems and simplify the process.
Adjust hinges so that cabinet doors have consistent gaps and open smoothly. Check that drawers operate correctly and do not rub against adjacent painted surfaces.
New hardware can provide an additional visual improvement. Matte black, brushed nickel, and warm metallic finishes can complement newly painted cabinetry.
However, hardware upgrades should remain compatible with the existing hole spacing unless additional repair work has been planned.
Common Kitchen Cabinet Painting Mistakes to Avoid
Even a carefully planned project can produce disappointing results when essential preparation steps are skipped.
Common mistakes include:
-
Painting over grease or cleaning residue
-
Failing to verify paint compatibility
-
Skipping necessary primer
-
Using unsuitable wall paint
-
Applying excessively thick coats
-
Ignoring sanding dust
-
Painting in unsuitable temperature or humidity
-
Reinstalling doors before sufficient curing
-
Neglecting hinge and drawer adjustments
These problems can affect both appearance and durability.
Professional-looking cabinet painting is generally achieved through careful preparation and consistent application rather than rushing to complete the project.
Should You Paint or Replace Your Kitchen Cabinets?
Painting can be a cost-effective solution when existing cabinetry remains structurally sound and the layout meets the household’s needs.
However, replacement may be more appropriate when cabinet boxes are damaged, storage is inadequate, drawers operate poorly, or the kitchen requires substantial layout changes.
| Consideration |
Painting Cabinets |
Replacing Cabinets |
| Existing Structure |
Must be sound |
New construction |
| Layout Changes |
Usually limited |
Greater flexibility |
| Color Options |
Broad repainting choices |
Depends on available collections |
| Storage Improvements |
Limited without modifications |
Can redesign configurations |
| Project Complexity |
Preparation-intensive |
Installation-intensive |
| Long-Term Value |
Depends on existing condition |
Depends on product quality |
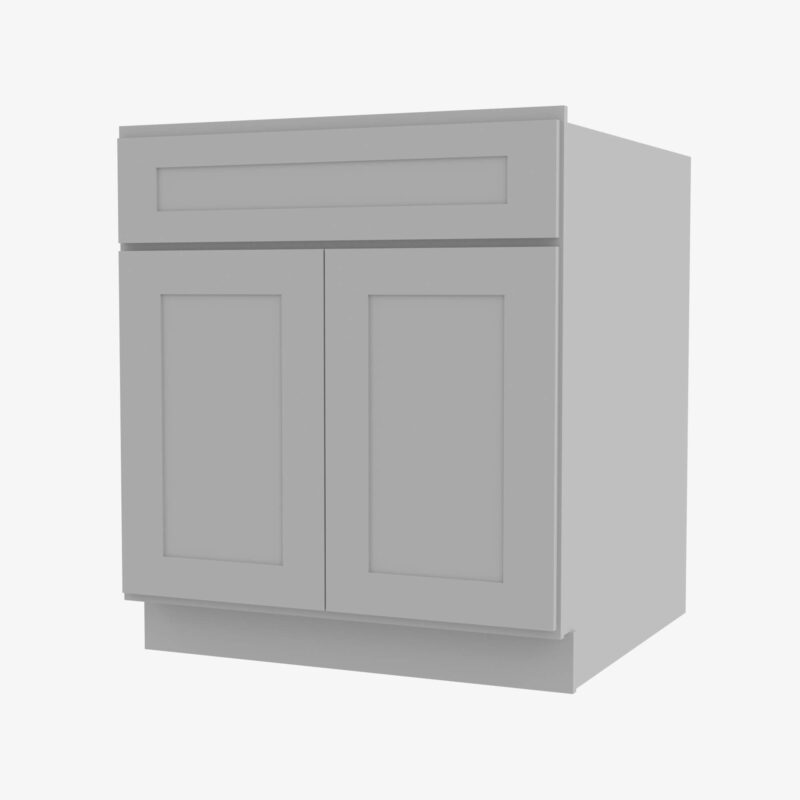
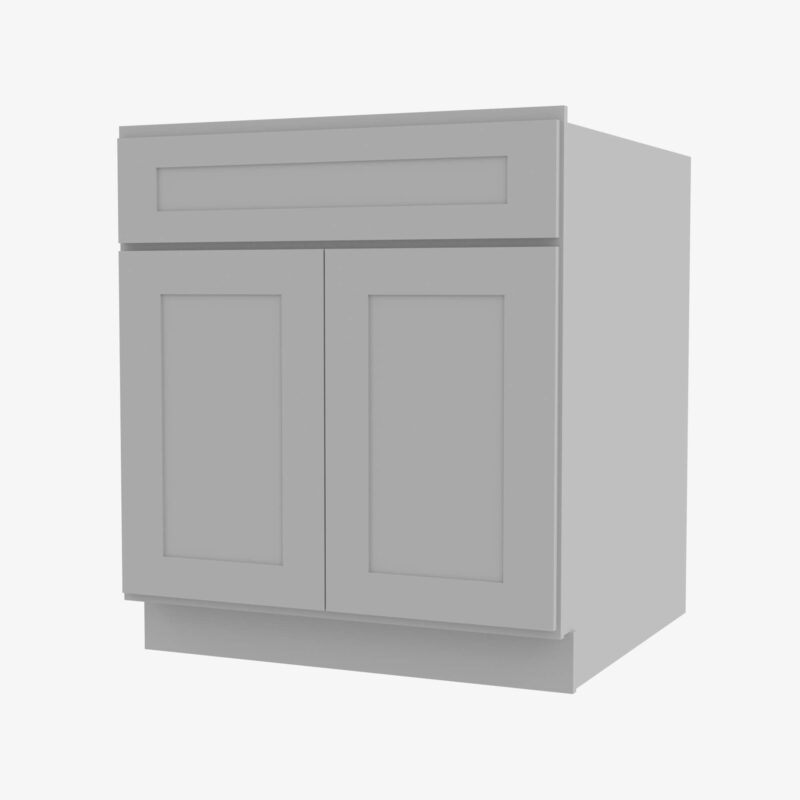
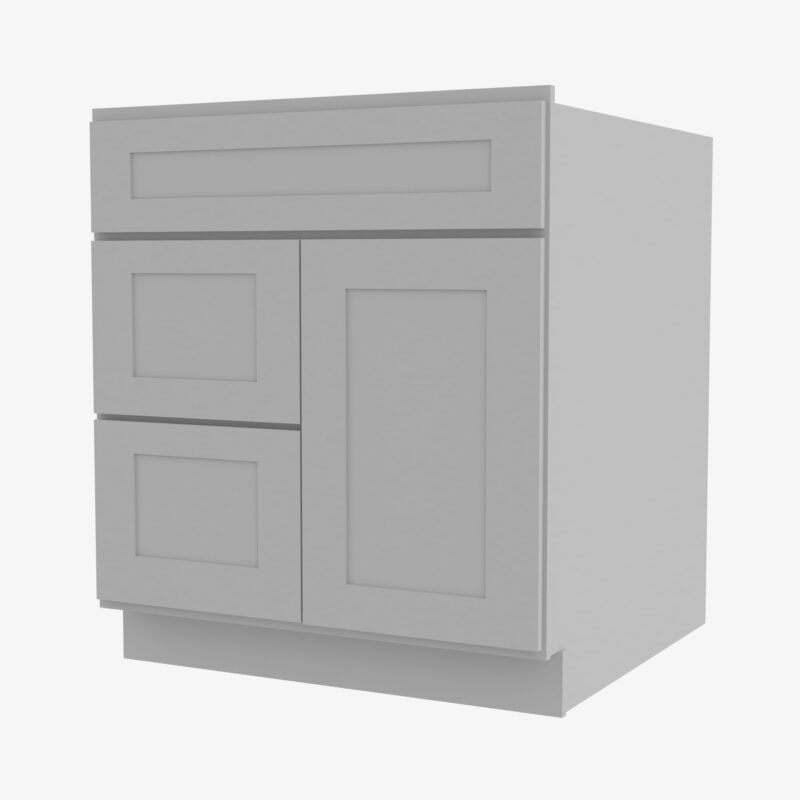
Homeowners exploring replacement options may compare established cabinetry collections such as Forevermark Cabinets, depending on available door styles, construction specifications, and project requirements.
The correct choice depends on the condition of the existing kitchen, available budget, and desired improvements.
How Much Does It Cost to Paint Kitchen Cabinets?
Kitchen cabinet painting costs depend on the size of the kitchen, number of doors and drawers, cabinet material, existing finish, required repairs, paint system, and whether the work is completed professionally or as a DIY project.
A DIY project may reduce labor expenses but still requires quality materials, tools, workspace preparation, and considerable time.
Professional refinishing generally involves additional labor costs but may provide access to specialized equipment, controlled application techniques, and experienced surface preparation.
Homeowners should request detailed estimates that specify cleaning, preparation, repairs, primer, paint, number of coats, and reinstallation.
Comparing complete project costs is more useful than evaluating the price of paint alone.
How to Maintain Newly Painted Kitchen Cabinets

Proper maintenance helps preserve the appearance and durability of painted cabinetry.
Clean surfaces using a soft cloth and a mild product approved by the coating manufacturer. Avoid abrasive scrubbers and aggressive chemicals that could damage the finish.
Wipe away cooking residue and moisture promptly, particularly near sinks, dishwashers, and ranges.
Avoid slamming doors and drawers, especially during the initial curing period. Properly adjusted soft-close hardware can help reduce repeated impacts.
Inspect frequently handled areas periodically. Small chips or scratches may be repairable using a compatible touch-up method recommended by the paint manufacturer.
Why Cabinet Quality Matters Before Painting
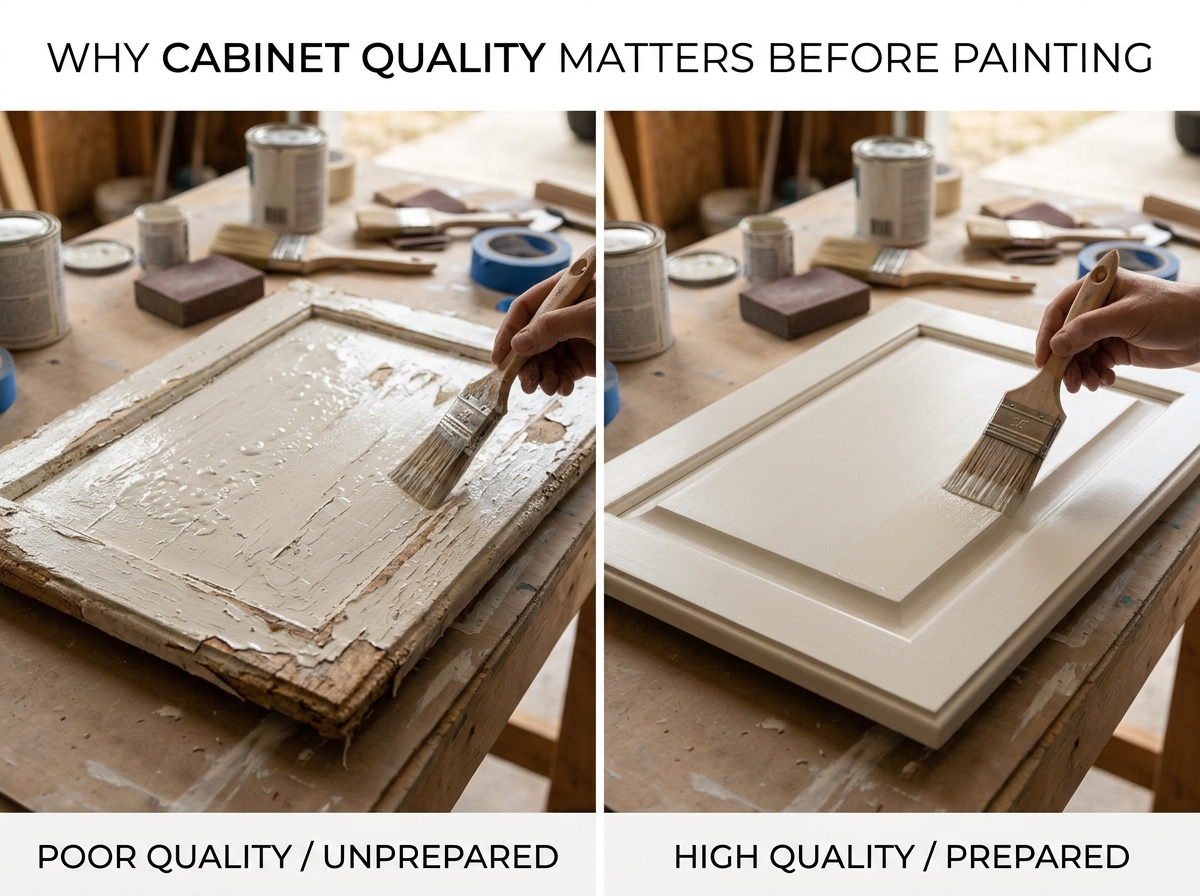
Painting changes the exterior appearance of cabinetry, but it does not improve the strength of cabinet boxes, shelves, drawer slides, or hinges.
If the underlying cabinetry is poorly constructed, a new finish may provide only a temporary cosmetic improvement.
Homeowners should evaluate cabinet stability, storage functionality, water damage, and hardware performance before committing to refinishing.
At Cabinets House, homeowners can explore kitchen cabinet options when painting no longer provides a practical solution. Collections such as Forevermark Cabinets may be considered when comparing replacement cabinetry for a redesigned kitchen.
A successful renovation should improve both appearance and daily usability.
Frequently Asked Questions About Painting Kitchen Cabinets
Can I Paint Kitchen Cabinets Without Sanding?
Some bonding primers are designed for specific surfaces with limited sanding requirements. However, cleaning and proper surface preparation remain essential. Always follow the coating manufacturer’s instructions and verify adhesion before painting the entire kitchen.
What Is the Best Paint for Kitchen Cabinets?
A high-quality coating specifically formulated for cabinets or frequently handled interior woodwork is generally preferable to ordinary wall paint. The correct product depends on the cabinet substrate, existing finish, and desired appearance.
Is It Better to Brush, Roll, or Spray Kitchen Cabinets?
All three methods can produce acceptable results when used correctly. Spraying can create a smooth finish but requires equipment, ventilation, and careful masking. Brushes and fine-finish rollers are often more accessible for DIY projects.
How Long Should Cabinet Paint Cure?
Curing time varies by product, coating thickness, temperature, and humidity. Always follow the manufacturer’s guidance before reinstalling components, cleaning surfaces, or returning the cabinets to normal use.
Is Painting Kitchen Cabinets Worth It?
Painting can be worthwhile when cabinet construction remains sound and the existing layout functions well. If the cabinetry has significant damage or the kitchen needs major storage improvements, replacement may provide better long-term value.
Conclusion
Learning how to paint your kitchen cabinets like a pro requires careful preparation, appropriate materials, consistent application, and patience. Cleaning, sanding, repairing, priming, and applying thin paint coats all contribute to a durable and attractive result.
Homeowners should also understand the limitations of cabinet refinishing. Painting can transform outdated surfaces, but it cannot correct structural damage, inadequate storage, or an inefficient kitchen layout.
When existing cabinets remain in good condition, a carefully executed painting project can provide a substantial visual improvement without requiring complete replacement.
For homeowners considering a larger renovation, Cabinets House offers an opportunity to evaluate new cabinetry styles and configurations, including suitable Forevermark Cabinets collections, as part of a comprehensive kitchen remodeling plan.

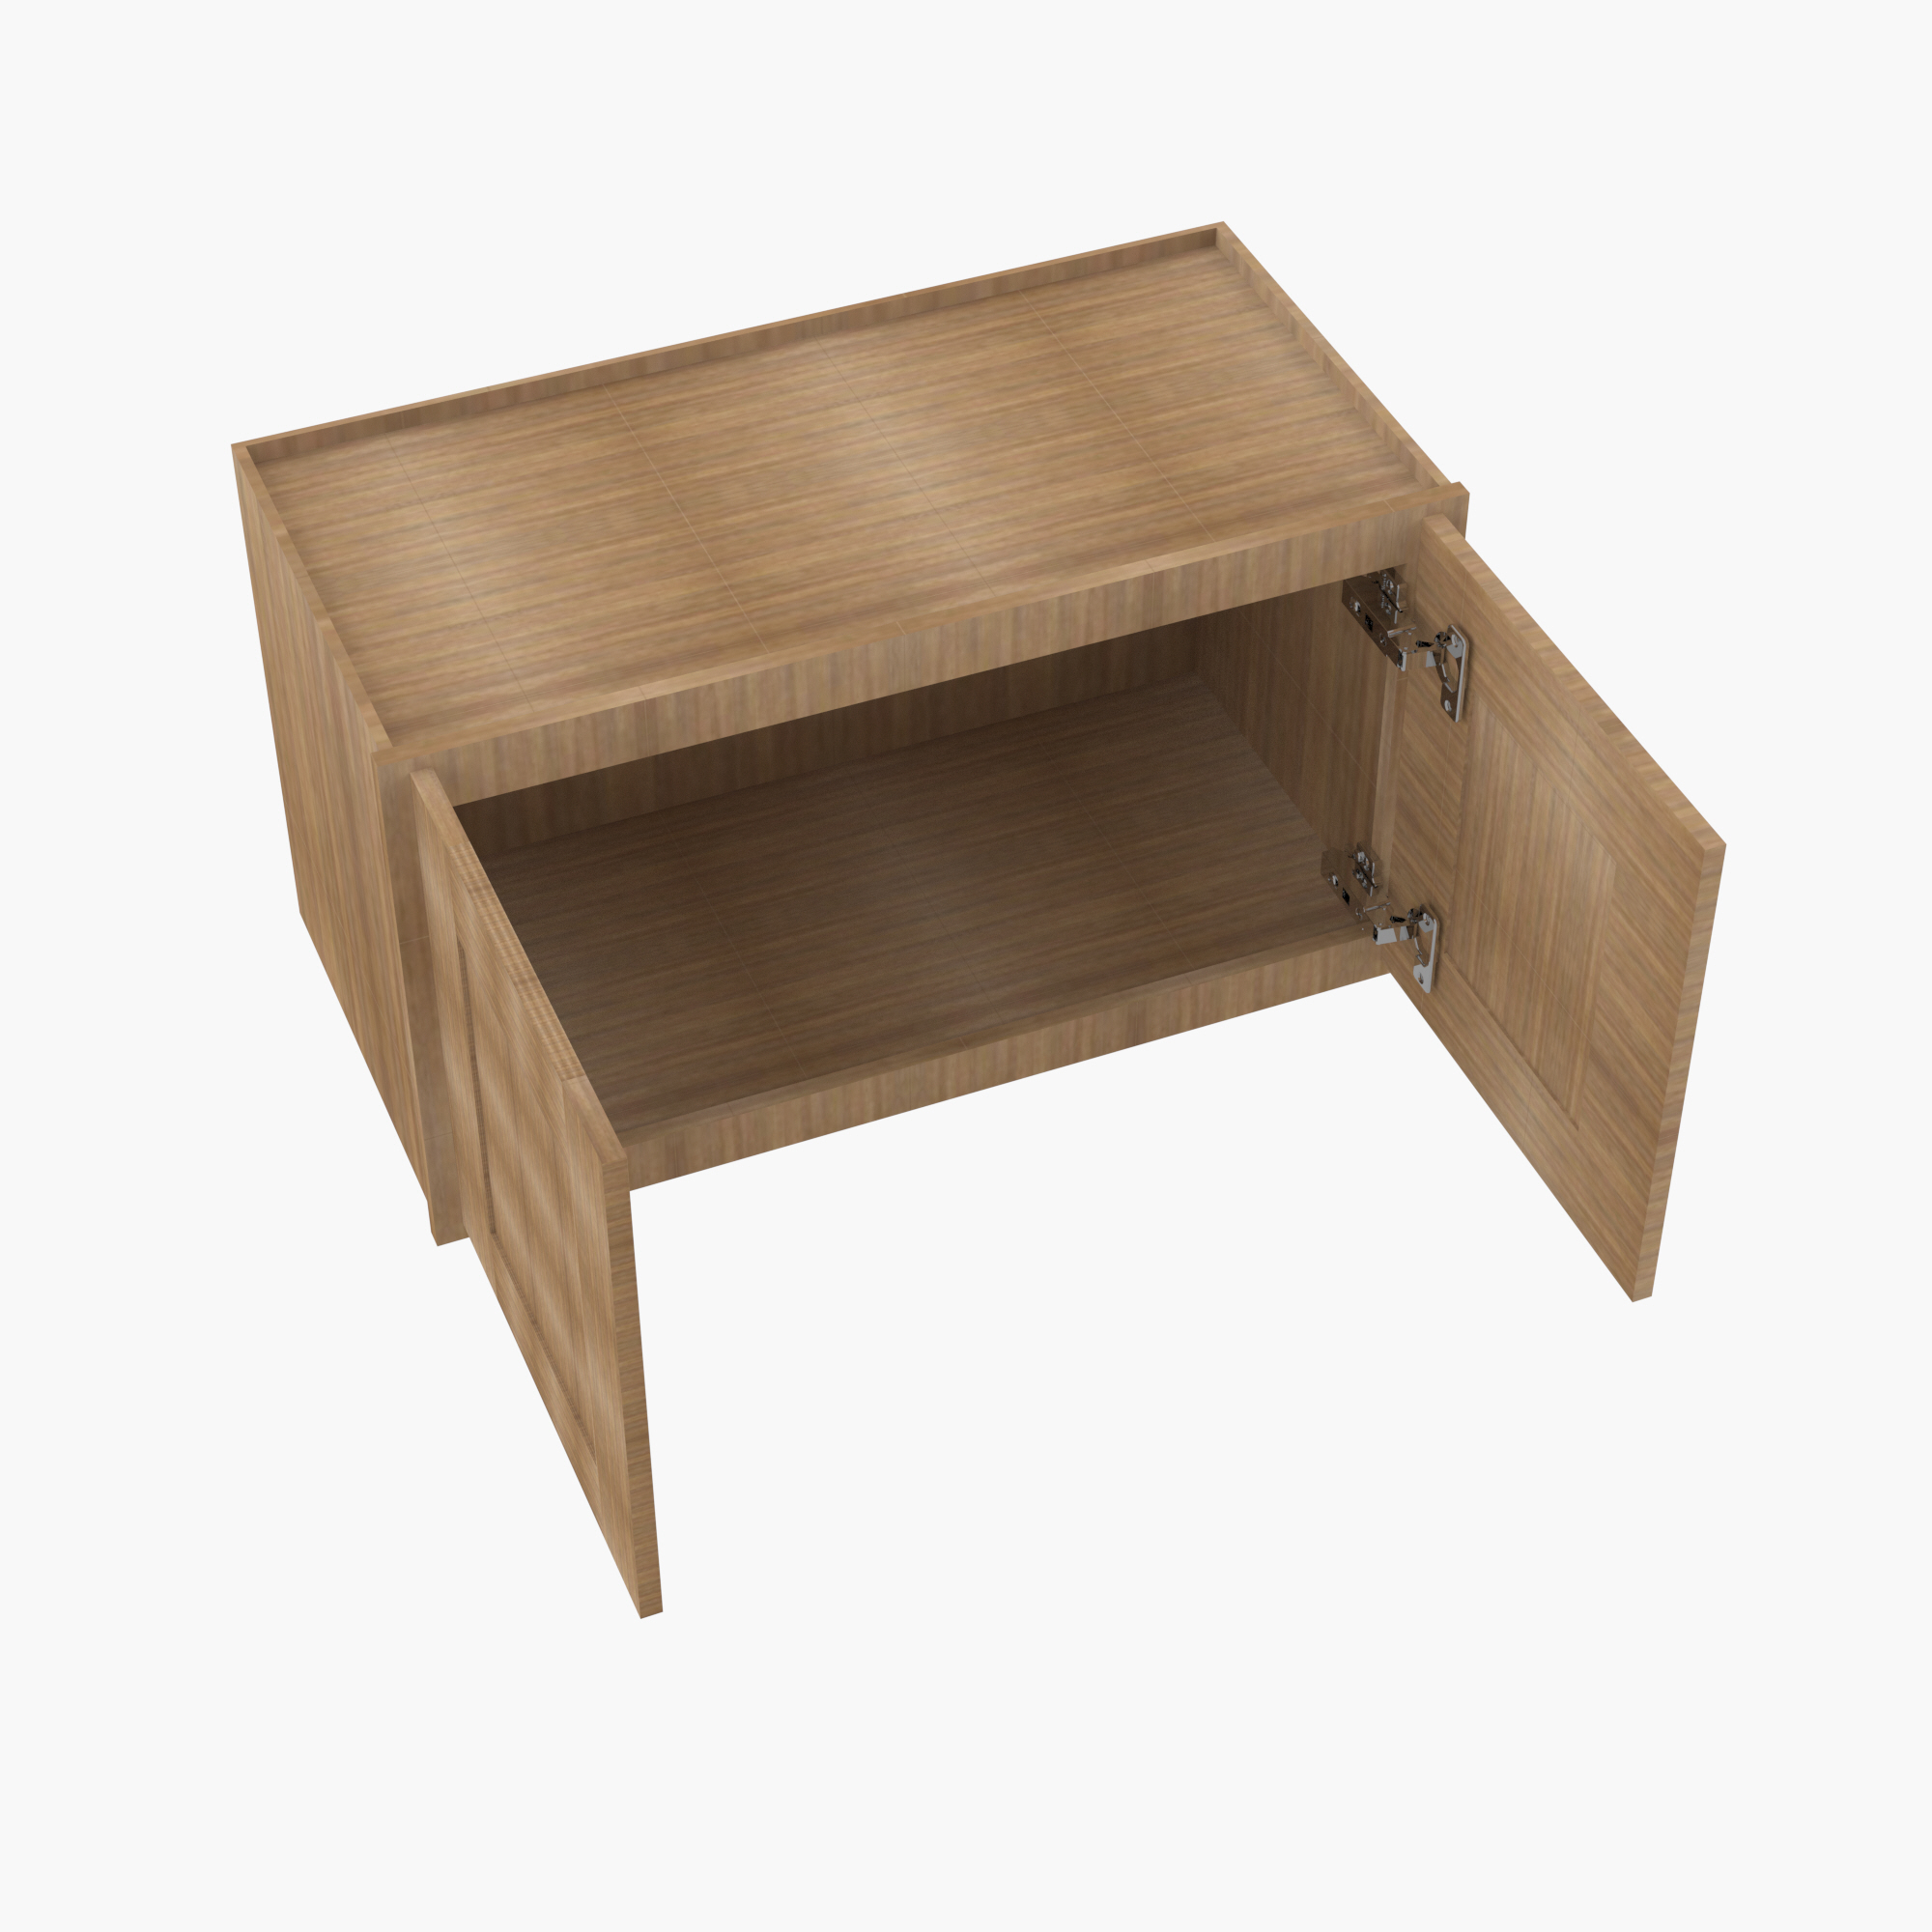 Stackable Cabinet AH-W3024B Forevermark Homestead OAK Shaker
 Glass Door Kitchen Cabinet AZ-W1830GD Forevermark Champagne Maple Shaker
 Trash Can Tray PR-TCR15 Forevermark Champagne Maple Shaker