No products in the cart.
If you want a “new” kitchen right now and can’t afford to buy new kitchen cabinets then paint is likely to be your best bet. It is also the obvious solution if you want a change of color scheme.
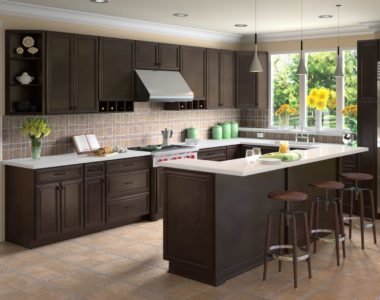
It’s partly because different colors will appeal to different tastes, and partly dependent on the architectural style of your house (if any). Also, it’s important to be aware that one style of kitchen cabinet will look completely different when finished in a different color. For example, take Gramercy style RTA kitchen cabinets. Available in white and very dark brown, the two options are in stark contrast to one another, even when the same appliances and similar wall treatments are used.
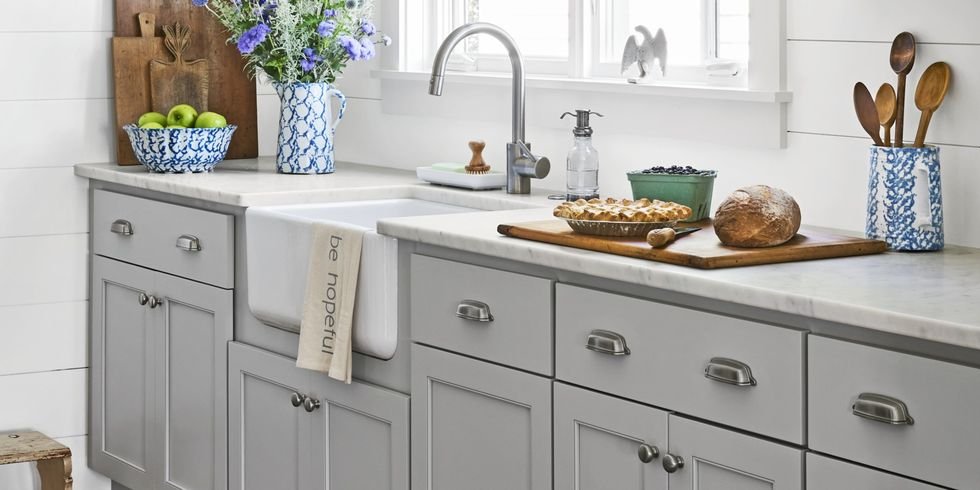
Gramercy White kitchen cabinets create a clean, crisp look. Painting kitchen cabinets white will have the same or a similar visual effect.
Gramercy Midnight kitchen cabinets are sleek and sophisticated. Burnished hardware and appliances add to the refined look.
7 STEPS
While different types and brands of paint require specific strategies, these seven easy steps for painting kitchen cabinets spell success:
1. Empty your kitchen cabinets and drawers and remove all the hardware including handles and knobs. You can remove the cabinet doors if you wish, otherwise carefully cover hinges and the edges of any glass panes with masking or painter’s tape. Also, tape all adjacent floor and wall surface to avoid getting paint on them. If you do decide to remove the doors, make sure you keep them in order (or number them), so you can put each one back where it previously was. Also, keep tabs on the hardware and hinges to be sure existing holes match up perfectly.
2. Kitchen cabinets must be clean and dry before you start painting. Put dust sheets or a tarpaulin on the floor before washing all accessible parts of the kitchen cabinets with detergent, an all-purpose cleaner, or a solution of sugar soap and warm water. It’s important to remove all dirt and grease so that you will have a nice smooth surface to work on. Use a moist sponge or fabric to remove any soapy residue or cleaner.
3. Allow the kitchen cabinets to dry thoroughly. If you are painting wood cabinets sand with fine sandpaper to smooth. Alternatively, use a deglossing agent and apply with a scrub pad. If there are cracks or other imperfections, fill these with a ready-mixed wood or multi-purpose filler. Sand again once this has dried. Wipe the cabinet surfaces with a damp cloth to get rid of any dust particles from sanding, or to remove excess deglosser.
4. The undercoat or primer you use will depend on the material and existing surface you are painting. Many (if not most) primers are white or sometimes pink in color, so if you are planning to use a dark top coat, see if you can have the primer tinted to a similar color, even if it’s toned down to a pastel because of the white. The kitchen cabinets featured in the before and after photographs below were painted with Rust-Oleum Cabinet Transformations Kit. This includes a bond coat that is the required primer. Whichever kitchen cabinet surfaces you are going to paint should be primed. You may not need to paint the inside shell of the cabinet boxes and drawers, but both sides of the doors, and underneath of wall cabinets, must be painted. Paint the back of cabinet doors and drawers first, using either a synthetic brush or foam roller.
5. Allow the undercoat, primer, or bond coat to dry. Be guided by the manufacturer’s instructions regarding adequate drying time. Wait longer rather than cut corners. Clean brushes and rollers thoroughly between coats otherwise the paint will dry on them too!
6. Apply two coats of the paint you have chosen, again allowing sufficient time between coats for it to dry.
7. In the end, remove the masking tape, rehang the cabinet doors, and replace the handles and/or knobs. Then clean up and put everything back into the cabinets and drawers.

BEFORE AND AFTER PHOTOGRAPHS
There’s nothing quite as effective as seeing kitchens before they were painted and after they were painted. This small, U-shaped, wood-cabinet kitchen is structurally sound but bland, if not a little dated. Painting the wall cabinets white and base cabinets gray lightens and brightens the room and makes it look more spacious.
BEFORE:
A compact little kitchen fitted with wall and base cabinets that have been left unpainted.
AFTER:
Painted with Rust-Oleum Cabinet Transformations Pure White and Gray, this little kitchen takes on new life. Using two different colors for the wall hung and base cabinets give it a unique character. One end of the wall cabinets has been painted with chalkboard paint, making it perfect for menus and/or shopping lists.
IDEAS
Page through magazines and books to see what kitchen paint colors are popular. You don’t have to be a slave to fashion, and you don’t have to follow trends, but you will get a good idea of what different paint colors look like in kitchens of different styles.
If your kitchen is open-plan, or it leads directly into a living room, you should make sure the colors used are harmonious even if they are not the same. You may even end up painting kitchen cabinets white, and give the walls a lick of paint color instead. The options are endless!